The Basics
If you're new to hammocks, you have quite a bit to learn! Don't worry though, I will try to break it down and make it as clear and approachable as I am able. If you ever have any questions while going through our Knowledge Base, feel free to email us.
What do I need to start hanging?
-
A Hammock
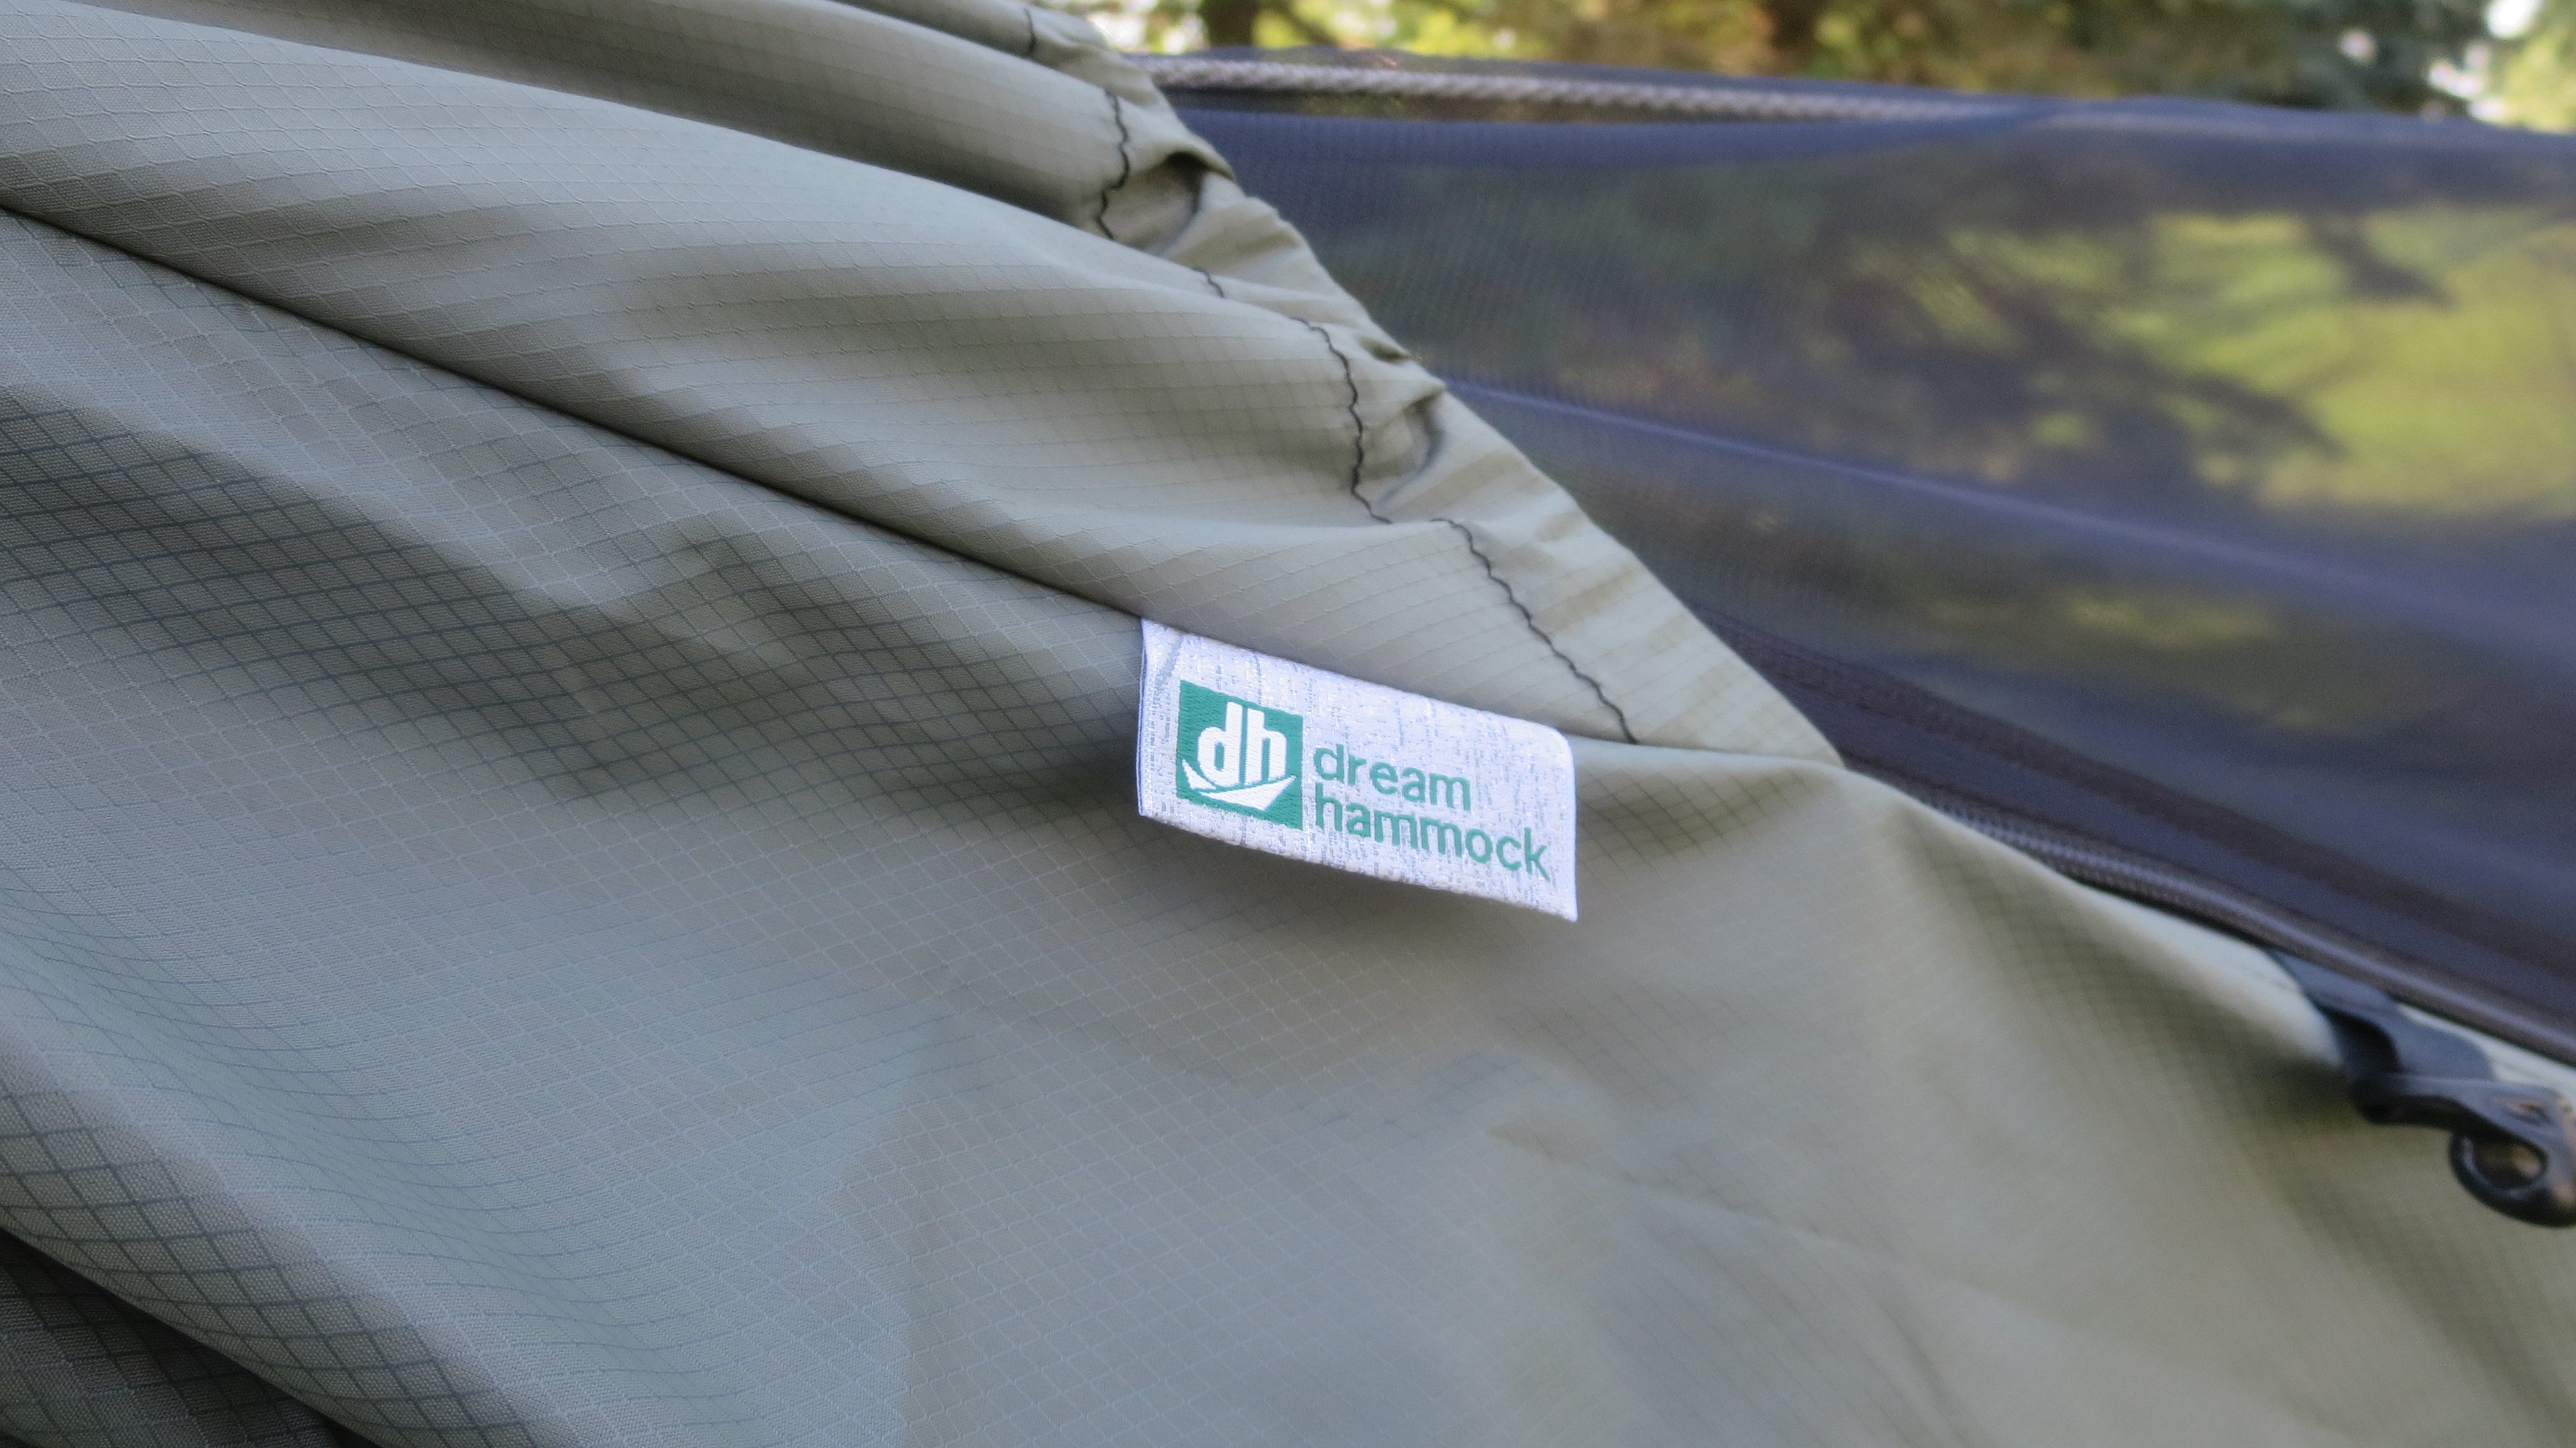
Hammock ModelsOf course you need a hammock! We have a few different models, all with their own strengths and weaknesses. Every hammock we make will be handmade in our workshop by our skilled seamsters and seamstresses, and inspected to ensure we are satisfied with the product and proud to put our name on it.
-
Suspension & Tree Straps
SuspensionAll of our hammocks come assembled with your choice of suspension, and the option to add a set of tree straps. This is because many of our customers already own a set of straps, and we don't see the need in being wasteful or nickle-and-diming our customers for gear they already own.
-
Tarps & Quilts
UGQ OutdoorWhile not strictly neccisary, you'll more than likely want to get yourself a tarp to keep the rain off of you, and some insulation to keep you warm. Our reccomendation for insulation is to use an underquilt. We don't make insulation or tarps, but our friends over at UGQ do a great job, check them out:
How to hang a Hammock
Say you have everything you need, now what? Let's go over the process of hanging a hammock, and demystify hammock camping by explaining why we hang them the way we do.
Finding Trees and Hanging your Tree Straps
First of all, find yourself some good anchor points! Good, strong trees are a great place to hang. The ideal span is around 12' apart, but you can make due if they are closer together or further apart. If the trees are further apart, you will need to hang your straps a little higher to compensate, and lower if they are closer together. For more information on what makes a good anchor point, please read our article on Hammock Safety.
Next you will want to get your tree straps in place. Our tree straps have one end with a loop, and another end without a loop. All you have to do is pass the end without a loop around the tree, then feed it through the strap's loop. Se the straps at a good height, then pull them tight against the tree. I like to start with my straps just over head height on the tree, because I find it easier to adjust the straps downward rather than adjust them further up the tree.
Side note: Do not use any kind of rope as tree straps. Doing so can damage the cambium, the outer layer of a tree which transports water and nutrients throughout the tree. Our flat 1" tree straps distribute the load evenly, preventing the weight from strangling and killing the tree.
Hanging your Hammock
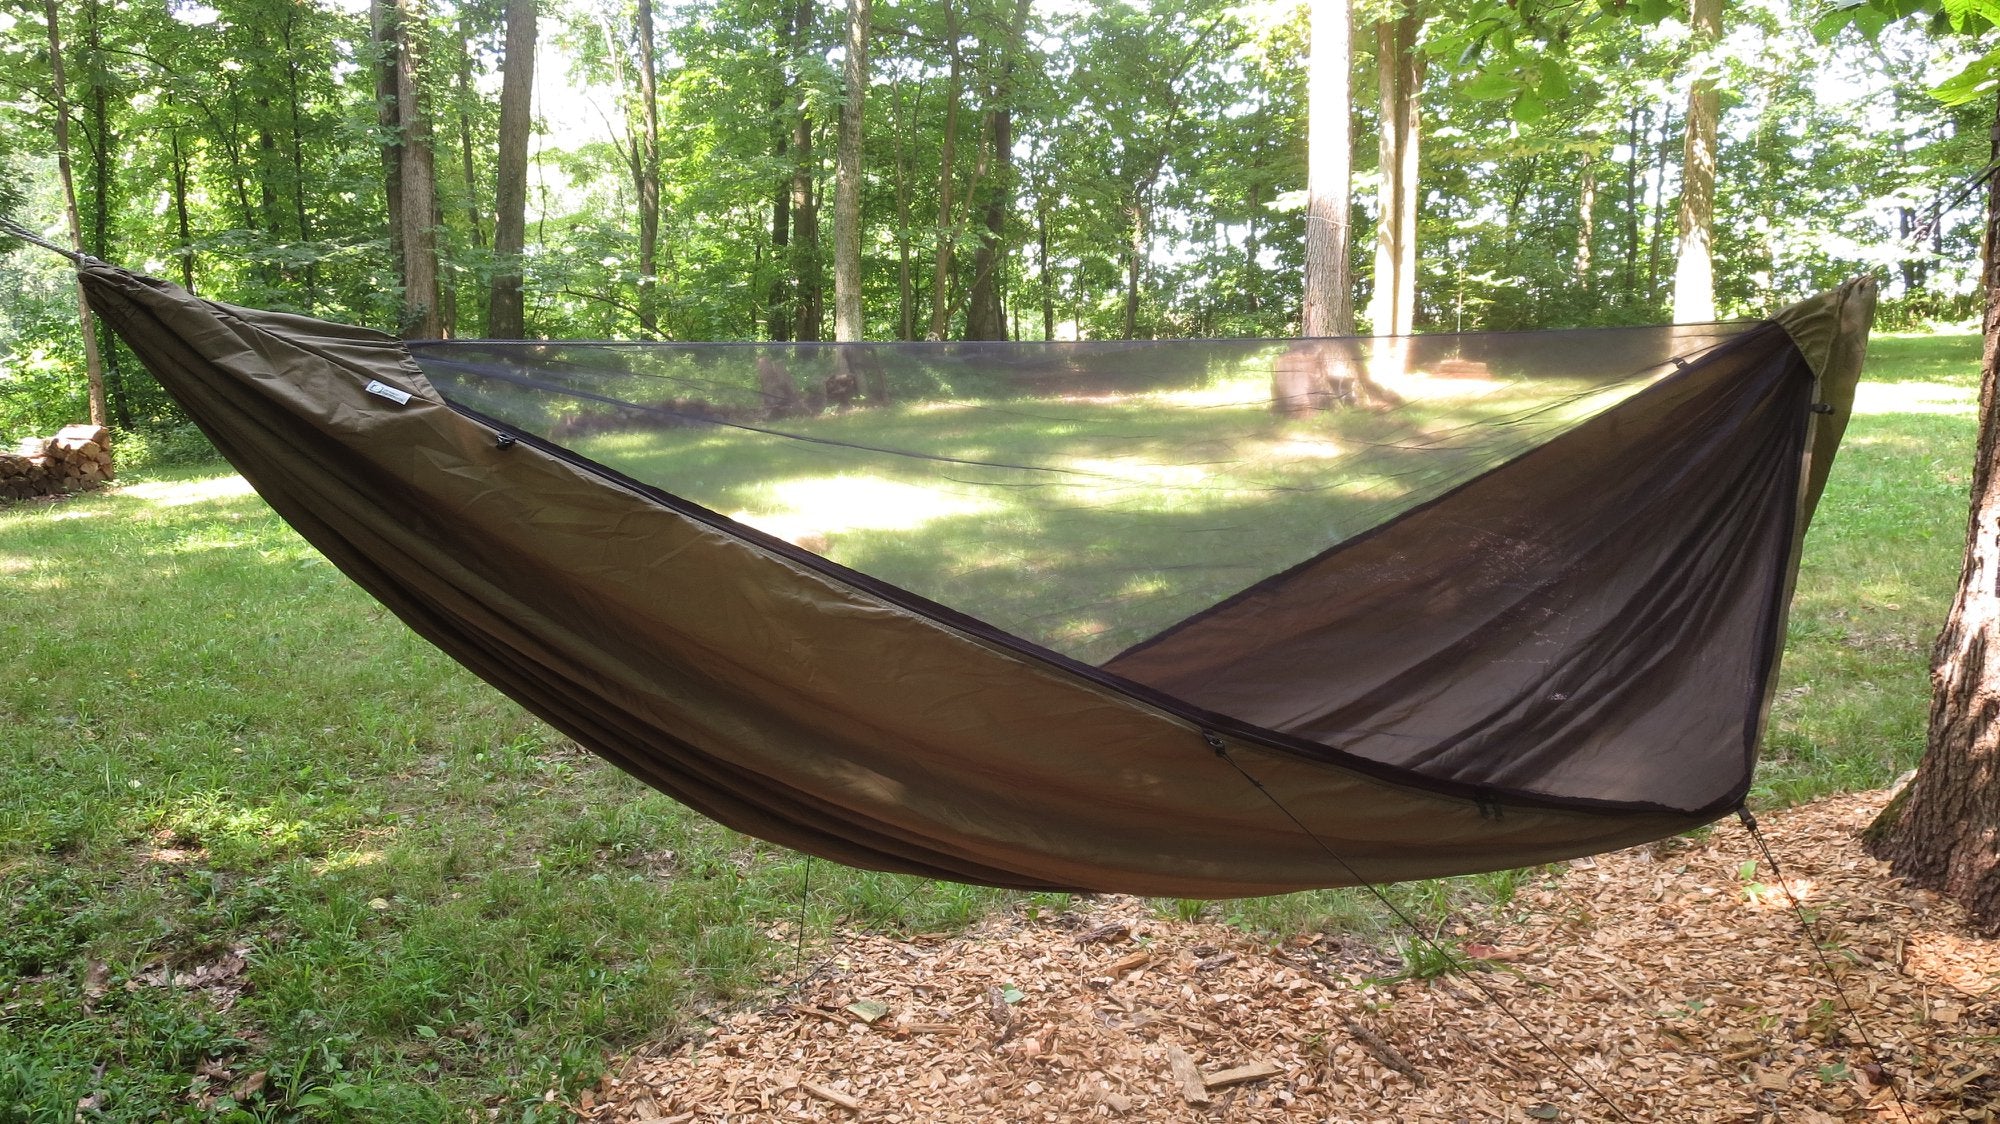
Now that your straps are in place it's time to attach your suspension to them. Naturally, how you do this will depend on the suspension system that your hammock has. Learn more about this on our Suspension page. We generally recommend our Cinch Buckle Suspension for both beginners and veterans (who aren't too concerned about their hammock's weight) for their ease of use and ability to make adjustments quickly.
Start by pulling just one end of your hammock out of the stuff sack to attach it to your straps while keeping the rest of the hammock in the stuff sack. Once attached, you can unpack your hammock as you walk to the other strap, attaching the suspension on the other end of your hammock to your second strap. Doing it this way keeps your hammock off the ground, preventing any snags or wear.
Regardless of the type of suspension, you will want to hang your hammock so the suspension is roughly at a 30 degree angle. The simplest way to rough in the right angle is by making a 'finger gun' with your hand. If you keep your index finger parallel to the ground, then draw a line between the tip of your index finger and the tip of your thumb, the result is roughly 30 degrees. Hold this up to your straps to get yourself in the right ballpark.
Now that you're in the right ballpark, you can fine tune your hammock by checking the ridgeline. Sit down in your hammock. You'll notice when you do, the ridgeline (the rope running from end to end) is pulled tight. When you sit you don't want the ridgeline to be sagging, but you also don't want it to be as tight as a guitar string. It should be loose enough that you can bend it, but tight enough to give you plenty of resistance in doing so. If the ridgeline needs to be tighter, tighten your suspension, if it needs more slack, loosen your suspension.
Adjust your hammock suspension and the height of your strap until your foot end is around 6 to 10 inches higher than your head end. We do this because our center of mass isn't in the center of our bodies, it's closer to our stomach. This means that as we lay in the hammock, our center of mass will sink to the lowest point, which will push our feet past the asym-point of the hammock (see Directional Lays). As you use your hammock more, you'll learn exactly how much higher you need with your foot end, but 6 to 10 inches is a good starting point.
Other Helpful Articles
-
Hammock Safety
View ArticleLearn how to hang a hammock safely, and what to look out for when choosing a spot to hang.
-
Hammock Suspension
View ArticleLearn about the various hammock suspension options we offer on our hammocks here.
-
Directional Lays
View ArticleNow that your hammock is all hung up, learn the proper way to lay in it using this guide.